Step-by-Step Guide to Spooling Your Reel with Braided Fishing Line
Imagine this: you’re out on the water, the sun’s just peeking over the horizon, and you’re ready to cast. But wait—your line isn’t cooperating. It’s tangled, twisted, or worse, slipping off the spool. If you’re using braided fishing line, this scenario is all too common when your reel isn’t spooled correctly. Don’t worry—I’ve got you covered with a simple, easy-to-follow guide that’ll have your reel ready for smooth, flawless casts every time.
Before we dive into the how-to, it’s worth checking out some of the best options out there. I highly recommend you explore Beyond Braid’s collection of braided fishing line—their range is fantastic whether you’re a beginner or a seasoned angler looking for that perfect line strength and color.
Why Choose Braided Fishing Line?
Braided line is like the sci-fi tech of fishing lines—strong, thin, and incredibly sensitive. Its unique weave gives it high strength with minimal stretch, which means you feel every nibble and have better control when battling fish. But all that tech can be tricky if you don’t spool it right, leading to frustration and lost catches.
The Spooling Journey: Step-by-Step
Step 1: Gather Your Gear
Start with your reel, a spool of braided fishing line, scissors or line cutters, and some kind of pencil or rod to hold the line spool steady. You might want a friend to help—trust me, it makes the process smoother, just like having a co-pilot on a starship.
Step 2: Attach the Line to the Reel
First, thread the line through your rod guides, starting from the tip down to the reel. Now, tie the line onto the spool using an arbor knot. This knot is like the handshake that seals your line’s fate with the reel—strong and reliable.
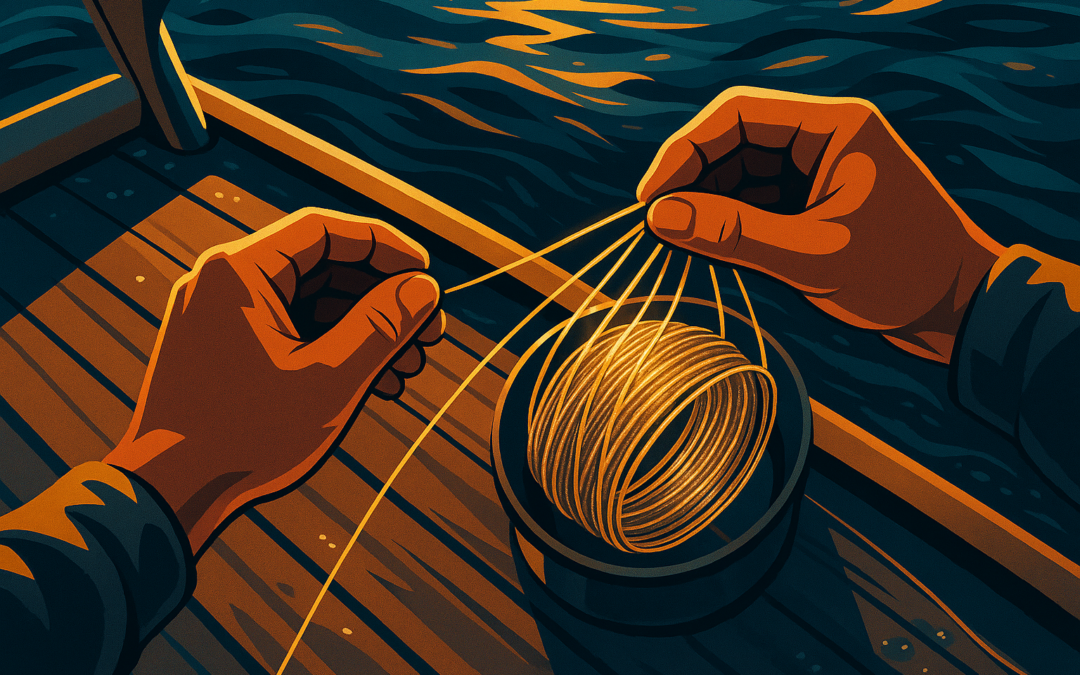
Step 3: Maintain Tension
This is the critical part. Keep steady tension on the line as you start winding it onto the reel. You can do this by pinching the line between your fingers or having your buddy hold the spool with a bit of resistance. Think of it as keeping the warp drive stable—too loose, and the line will tangle; too tight, and you risk damaging your line.
Step 4: Spool Evenly and Slowly
Begin cranking the reel slowly, making sure the line lays flat and even across the spool. Avoid building up piles or gaps. It’s like painting a smooth, even layer of futuristic armor—precision matters.
Step 5: Fill It Just Right
Stop spooling when the line is about 1/8 inch from the edge of the reel spool. Overfilling can cause tangles and backlash, while underfilling reduces casting distance. This sweet spot helps your line perform optimally, like calibrating your spaceship’s thrusters for a perfect takeoff.
Step 6: Secure the Line
Once you’ve got the right amount, cut the line from the spool, leaving a few feet to tie on your terminal tackle or lure. Use the reel’s line clip or a small piece of tape to hold the line in place until you’re ready to fish.
Final Thoughts: Ready to Fish!
Spooling braided fishing line might feel like a small step, but it’s the foundation for a great fishing day. Done right, it’s like having your own personal AI assistant guiding you—smooth, reliable, and ready for action. So next time you gear up, follow these steps and see how your casts improve. And if you want to experiment with different braided lines, don’t forget to explore Beyond Braid’s collection of braided fishing line to find the perfect match for your adventure.
Now, grab your rod, hit the water, and may the fish be ever in your favor!
Checkout ProductScope AI’s Studio (and get 200 free studio credits)